First-Run Setup
After starting Houndarr for the first time, follow these steps to get it configured.
1. Create an admin account
Navigate to http://<your-host>:8877. You will see the setup screen prompting you
to create an admin username and password.
- Choose a strong password (Houndarr enforces minimum complexity requirements).
- This is the only account — Houndarr uses a single-admin authentication model.
2. Log in
After creating your account, log in with your new credentials.
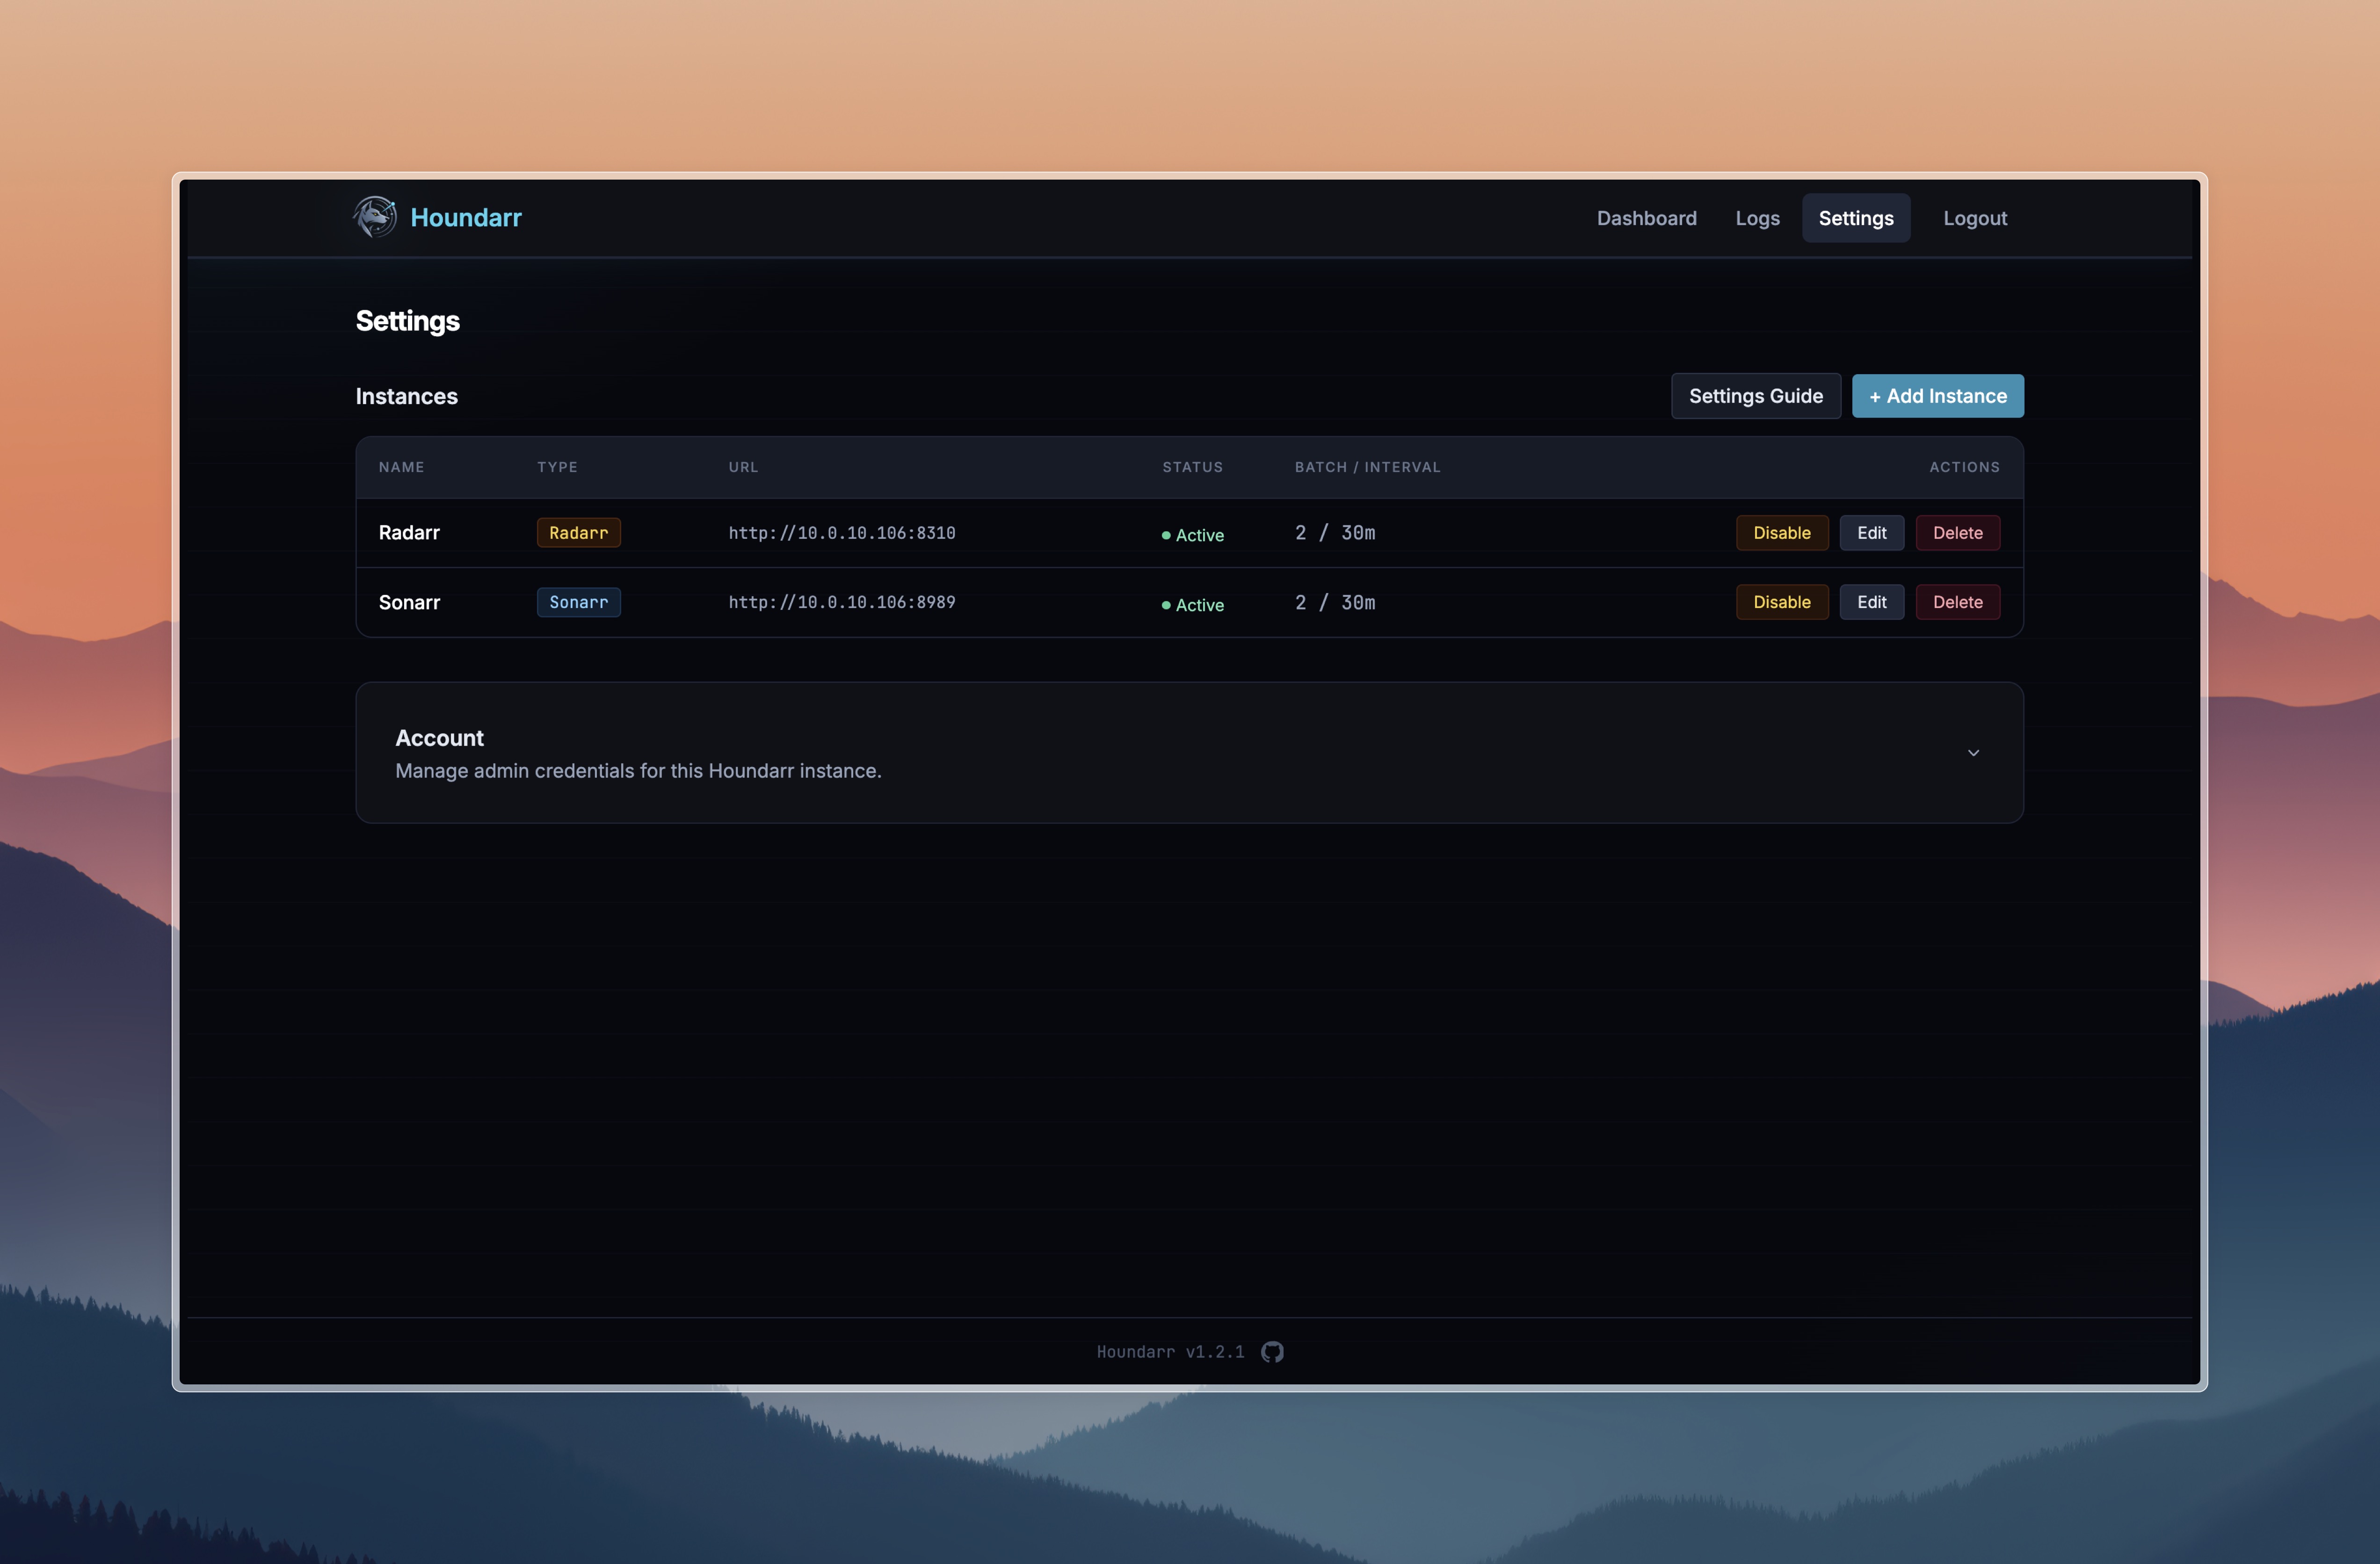
3. Add your instances
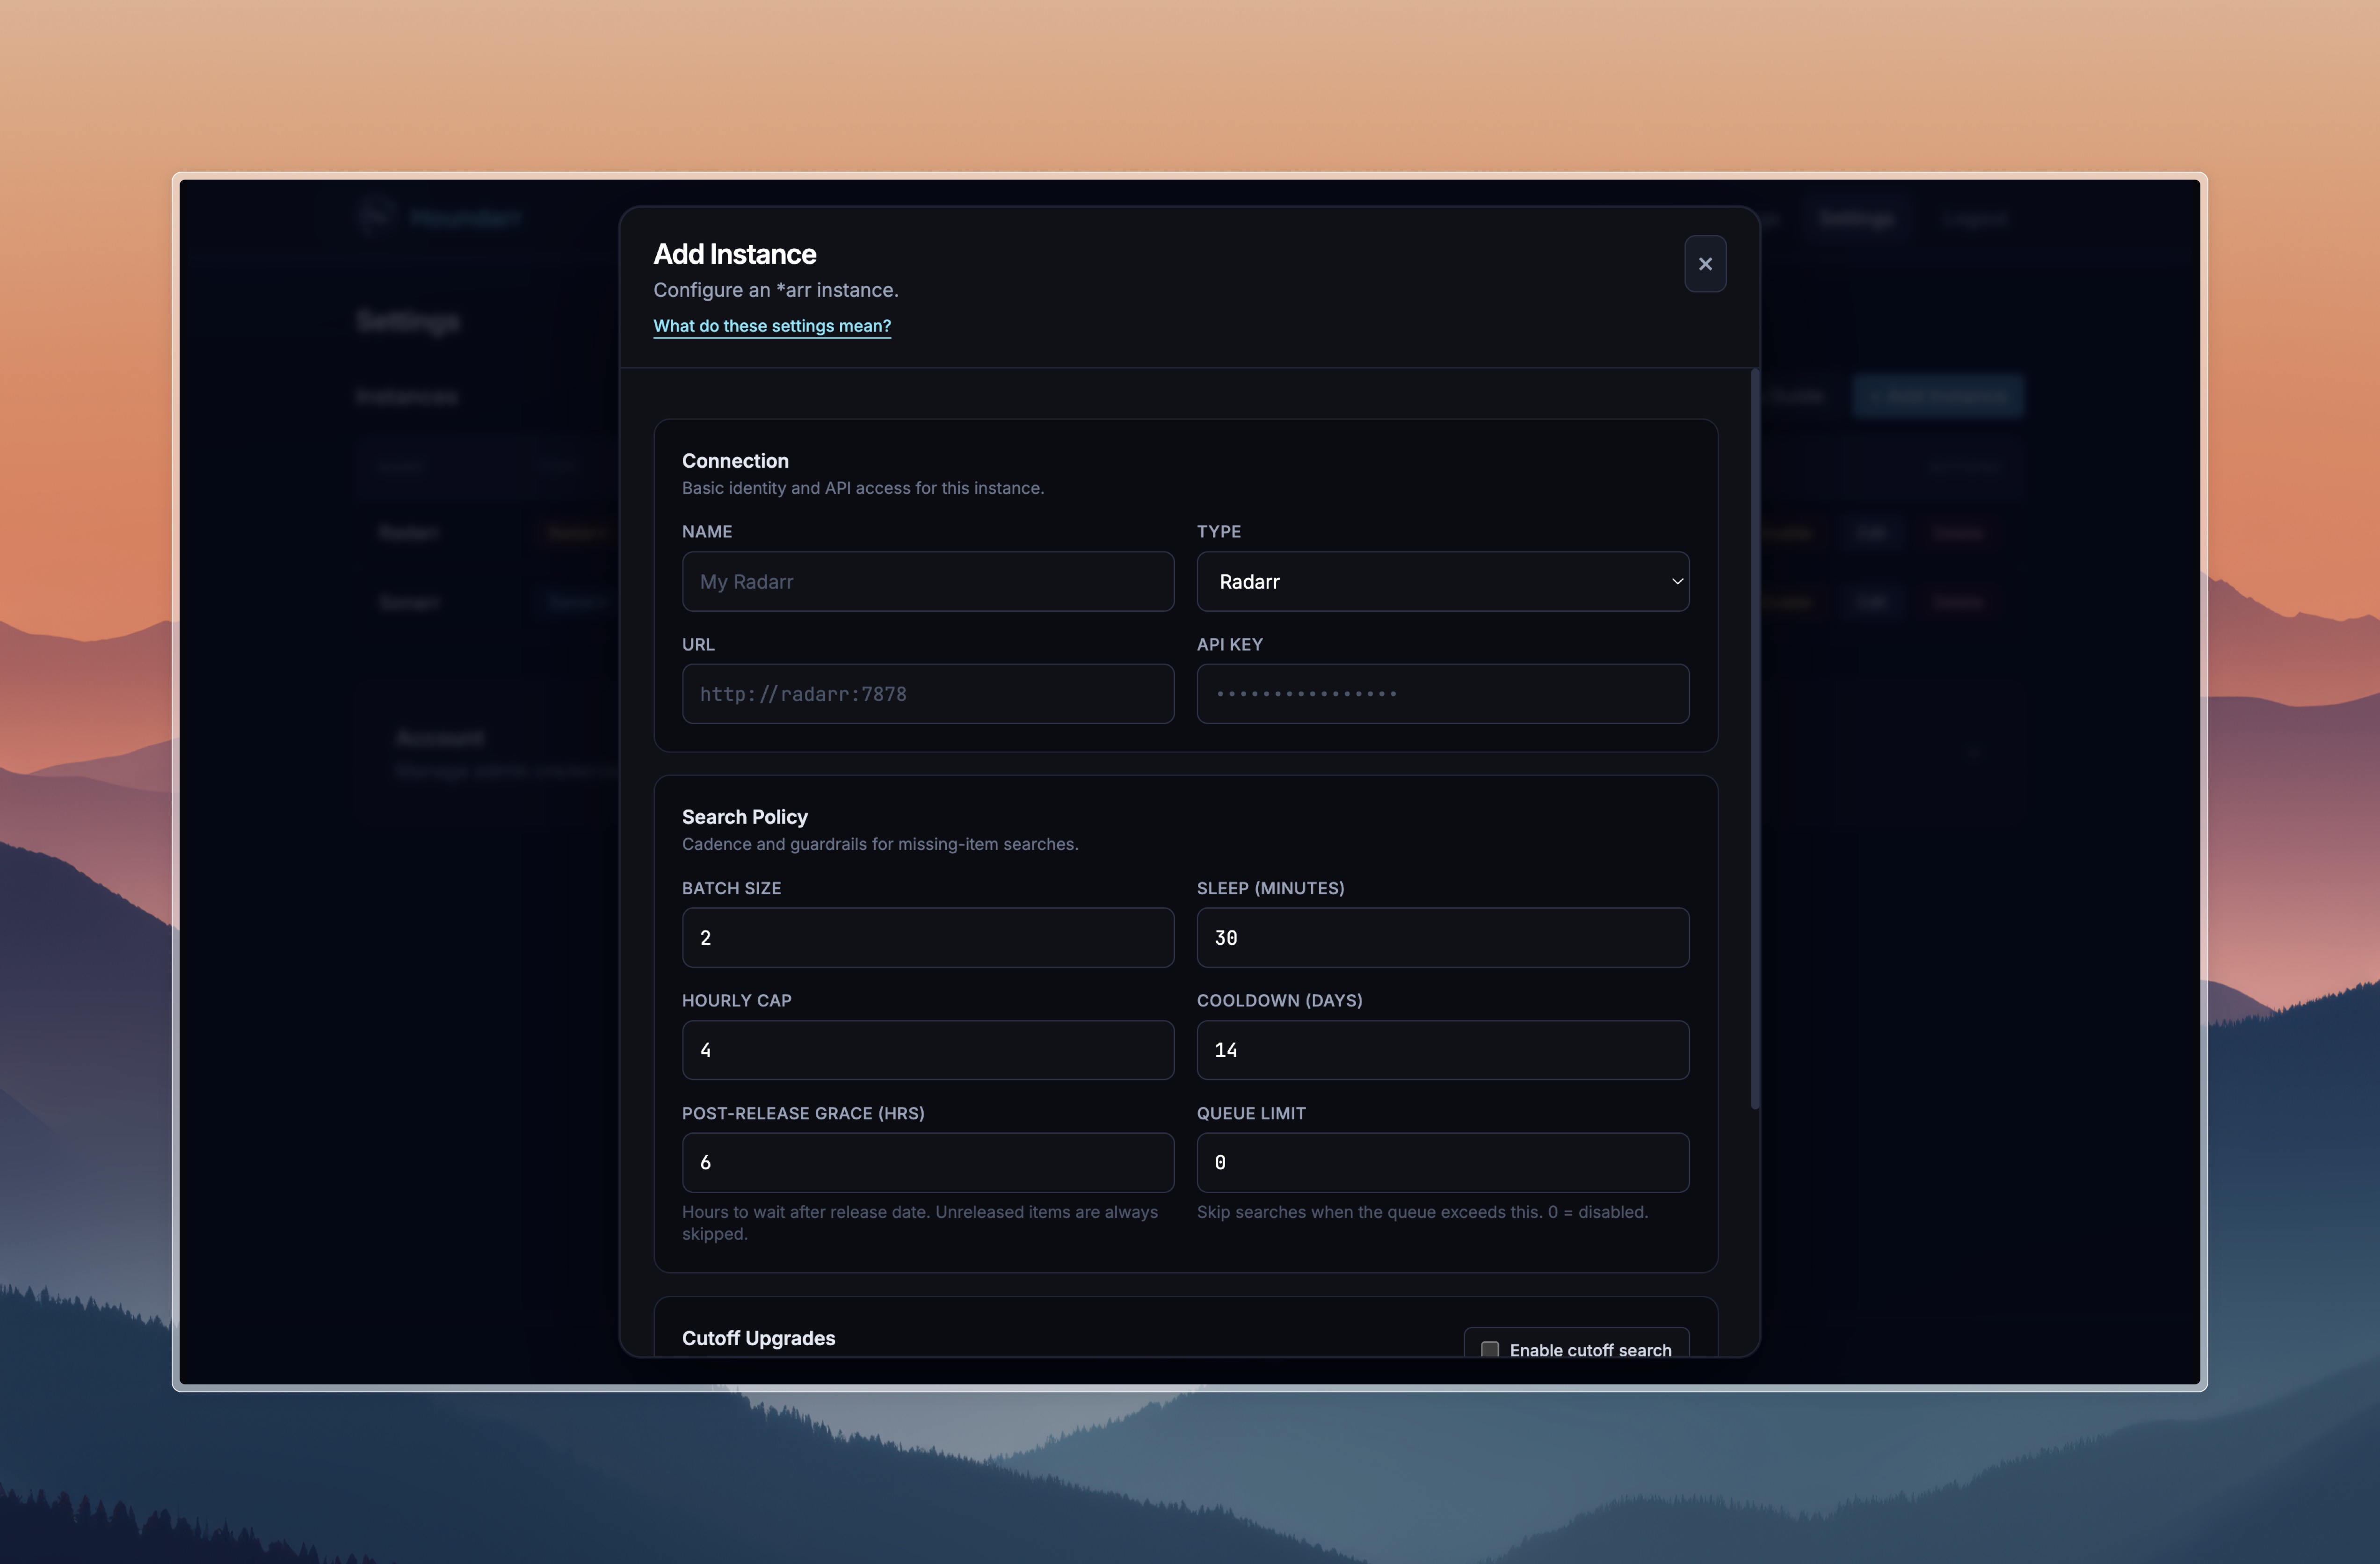
Go to Settings and click Add Instance to connect your *arr instances.
For each instance you need:
- Name — a friendly label (e.g., "Radarr Movies", "Sonarr 4K", "Lidarr Music")
- Type — Radarr, Sonarr, Lidarr, Readarr, or Whisparr
- URL — the base URL of the instance (e.g.,
http://sonarr:8989) - API Key — found in your *arr instance under Settings > General
API keys are encrypted at rest using Fernet symmetric encryption and are never sent back to the browser. See Trust & Security for details.
4. Configure search settings
Each instance has its own search settings. The defaults are conservative and safe:
| Setting | Default | Purpose |
|---|---|---|
| Batch Size | 2 | Items per search cycle |
| Sleep (minutes) | 30 | Wait between cycles |
| Hourly Cap | 4 | Max searches per hour |
| Cooldown (days) | 14 | Min days before re-searching an item |
| Post-Release Grace (hrs) | 6 | Hours to wait after release date before searching |
| Queue Limit | 0 (disabled) | Skip cycle when download queue meets or exceeds this count |
For detailed explanations of all settings, see Instance Settings.
5. Enable the instance
Toggle the instance to Enabled in the Settings page. Houndarr will begin searching on the configured schedule.
The Dashboard
Once instances are enabled, the Dashboard shows:
- Instance status cards with current state and next run time
- Run Now buttons for on-demand search triggers
- Recent activity from the search log
